FusionPBX
xDR files
In order to set up xDR files integration, please follow the steps below.
Configure CDR CSV module
- Login to your FusionPBX server over SSH.
- Paste following configuration into
/etc/freeswitch/autoload_configs/cdr_csv.conf.xml:/etc/freeswitch/autoload_configs/cdr_csv.conf.xml<configuration name="cdr_csv.conf" description="CDR CSV Format">
<settings>
<!-- 'cdr-csv' will always be appended to log-base -->
<!--<param name="log-base" value="/var/log"/>-->
<param name="default-template" value="jerasoft"/>
<!-- This is like the info app but after the call is hung up -->
<!--<param name="debug" value="true"/>-->
<param name="rotate-on-hup" value="true"/>
<!-- may be a b or ab -->
<param name="legs" value="ab"/>
<!-- Only log in Master.csv -->
<param name="master-file-only" value="true"/>
</settings>
<templates>
<template name="jerasoft">"${uuid}","${originating_leg_uuid}","${context}","${direction}","${network_addr}","${sip_from_uri}","${sip_to_uri}","${caller_id_number}","${destination_number}","${start_stamp}","${answer_stamp}","${end_stamp}","${billsec}","${hangup_cause}","${progresssec}","${read_codec}","${write_codec}"</template>
</templates>
</configuration>
Enable CDR CSV module
- Open FusionPBX web interface and go to "Advanced → Modules".
- Find "CDR CSV" under "Event Handlers", click to edit and set "Enabled" field to "True"
JeraSoft Billing side
Configure a gateway
Perform configuration on the JeraSoft Billing side using Billing configuration article. When selecting a files collector for the gateway you will have the following choice:
-
FusionPBX Multi-Tenant (Domain-Only) works for a pure multi-tenant environment, where the customers are allowed to configure their own extensions and you bill them by the full domain name. In this scenario, you will have to create a single Account per each Client with "Name" identification type and its value matching to the domain name of the customer.
-
FusionPBX Multi-Tenant (Domain + Extension) works for extensions-based billing, where you want to bill or see statistics for each single extension. In this scenario, you will have to create an Account for each extension with "Name" identification type and its value matching to the
extension@domain. Be careful when using this collector: if the customer is allowed to manage list of extensions themselves, all extensions have to be added to the billing system.
Traffic processing
All numbers will come to the billing system as dialed. Therefore, some cases would require configuration of the Traffic Processing rules in the JeraSoft Billing. For example:
-
If the call goes to the internal extensions (e.g.
101), it will come to billing as101. Consequentially it may be recognized as "US" because it starts with1. For the correct processing of this scenario, you need to add a Traffic Processing rule like this:- Type: Initial
- Dst Match:
^.{0,4}$(where4defines maximum length for the extension) - Dst Replace:
LOCAL#\1
After that you will be able to simply add rate for the code
LOCAL#which will track all those calls. -
If the call goes to international, typically some prefix like
00is used. At the same time for billing purposes it is strictly recommended to use E.164 prefix format, which just starts with the country code right away. So in order to handle this case you need to create a Traffic Processing rule like the following:- Type: Initial
- Dst Match:
^00(.*)$ - Dst Replace:
\1
External routing
The configuration for SIP routing assumes that the multi-tenant scenario is used and identifies the customer by their domain name, not by each separate extension.
In order to set up external routing, please follow the steps below.
Set routing server IP
-
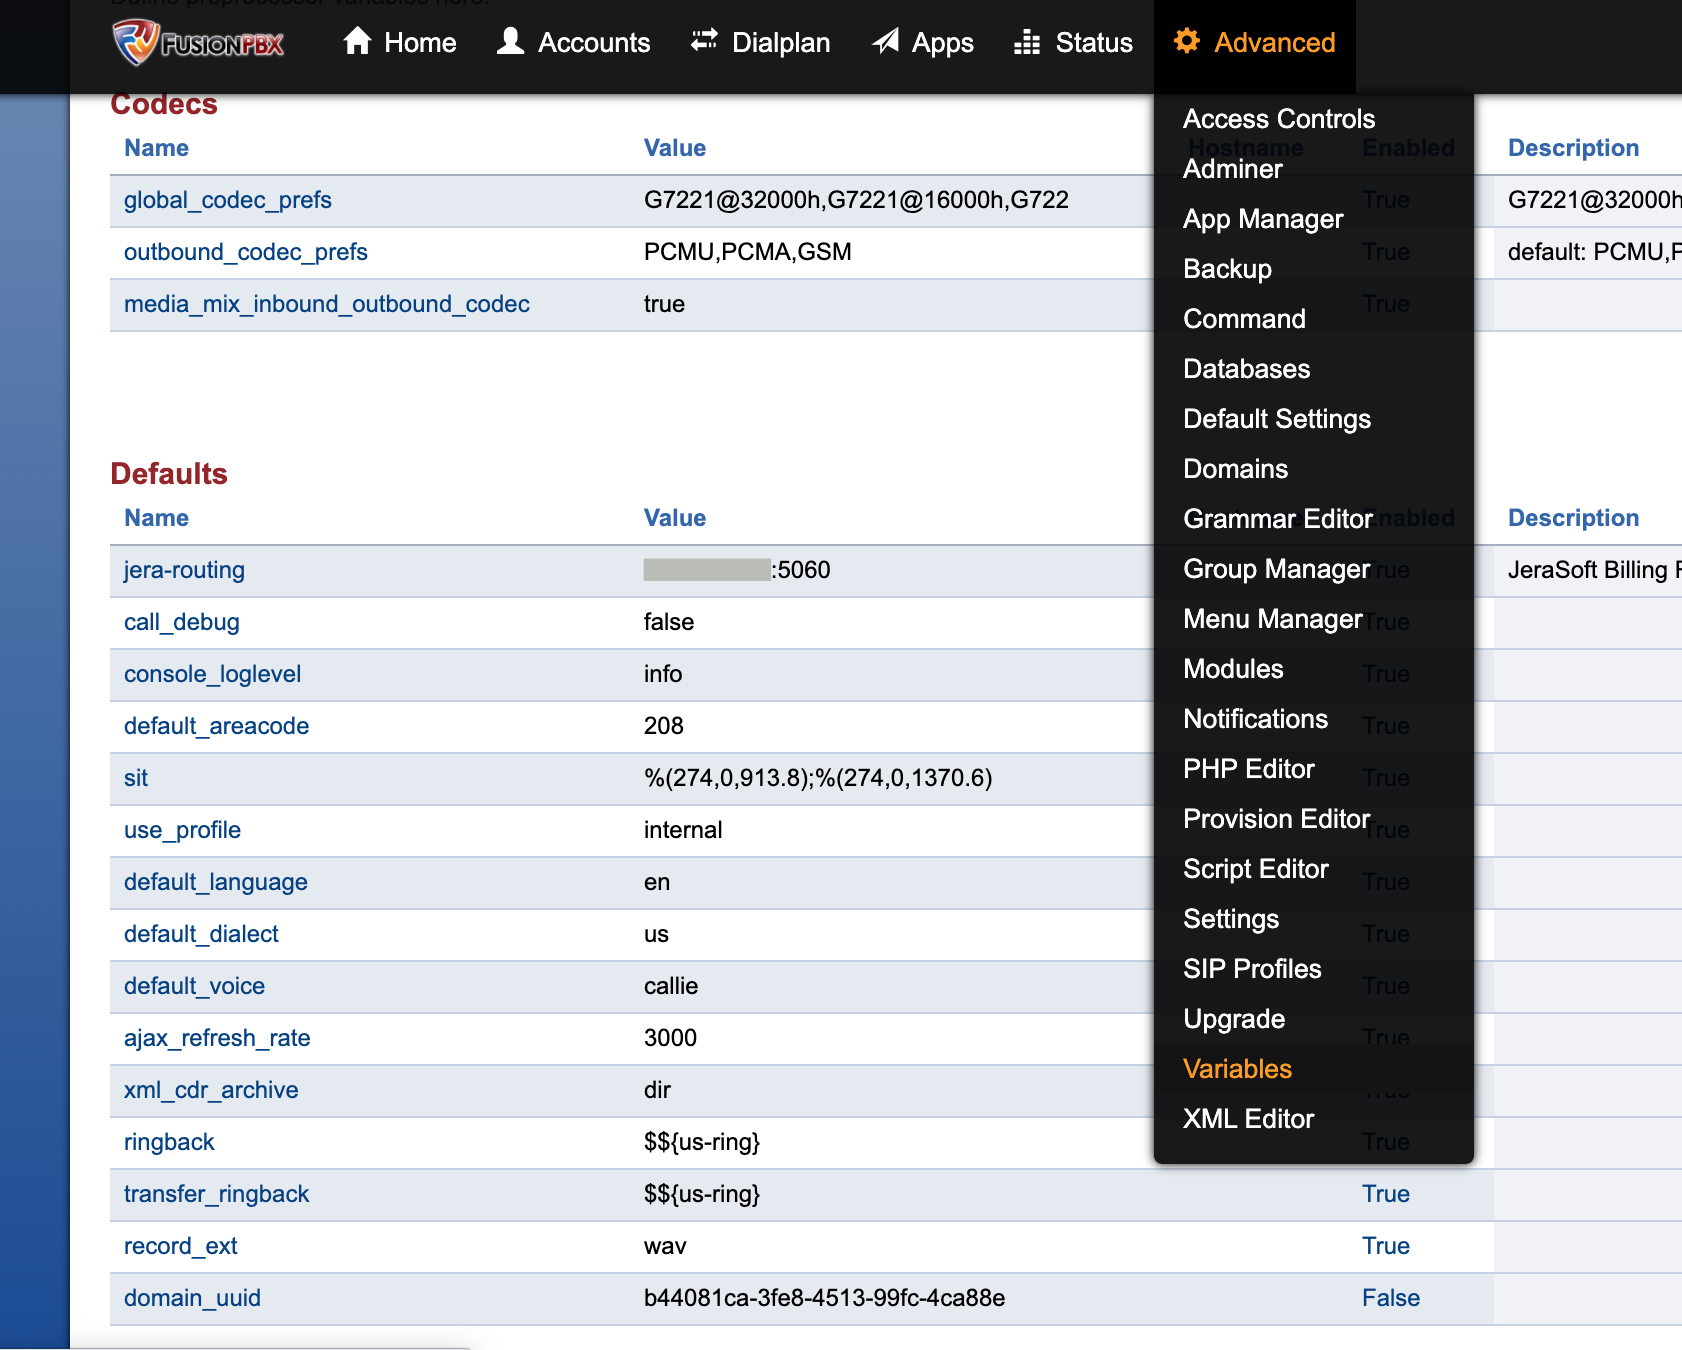
In the FusionPBX web interface go to "Advanced → Variables".
-
Find the "Defaults" section and click plus icon to add a new variable.

-
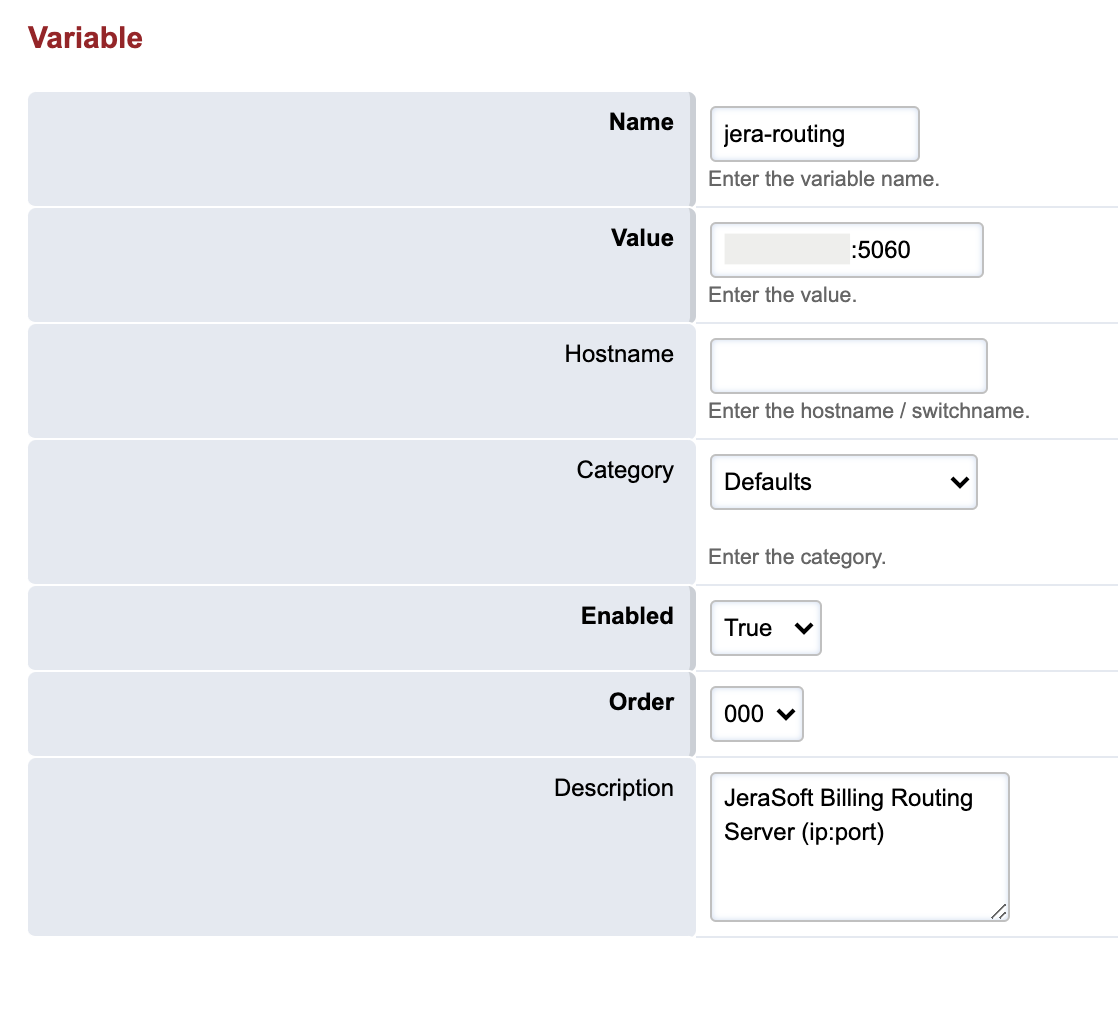
Add a new variable according to the following example:

Field Description Name Set to jera-routingValue Set to IP of the JeraSoft Billing followed by :5060Hostname Keep empty (optional) Category Select "Defaults" Enabled Select "True" Order Select "000" -
Click "Save".
Create dial plan
-
In the FusionPBX web interface go to "Dialplan → Dialplan Manager".
-
Click plus icon at the top to create a new dial plan.
-
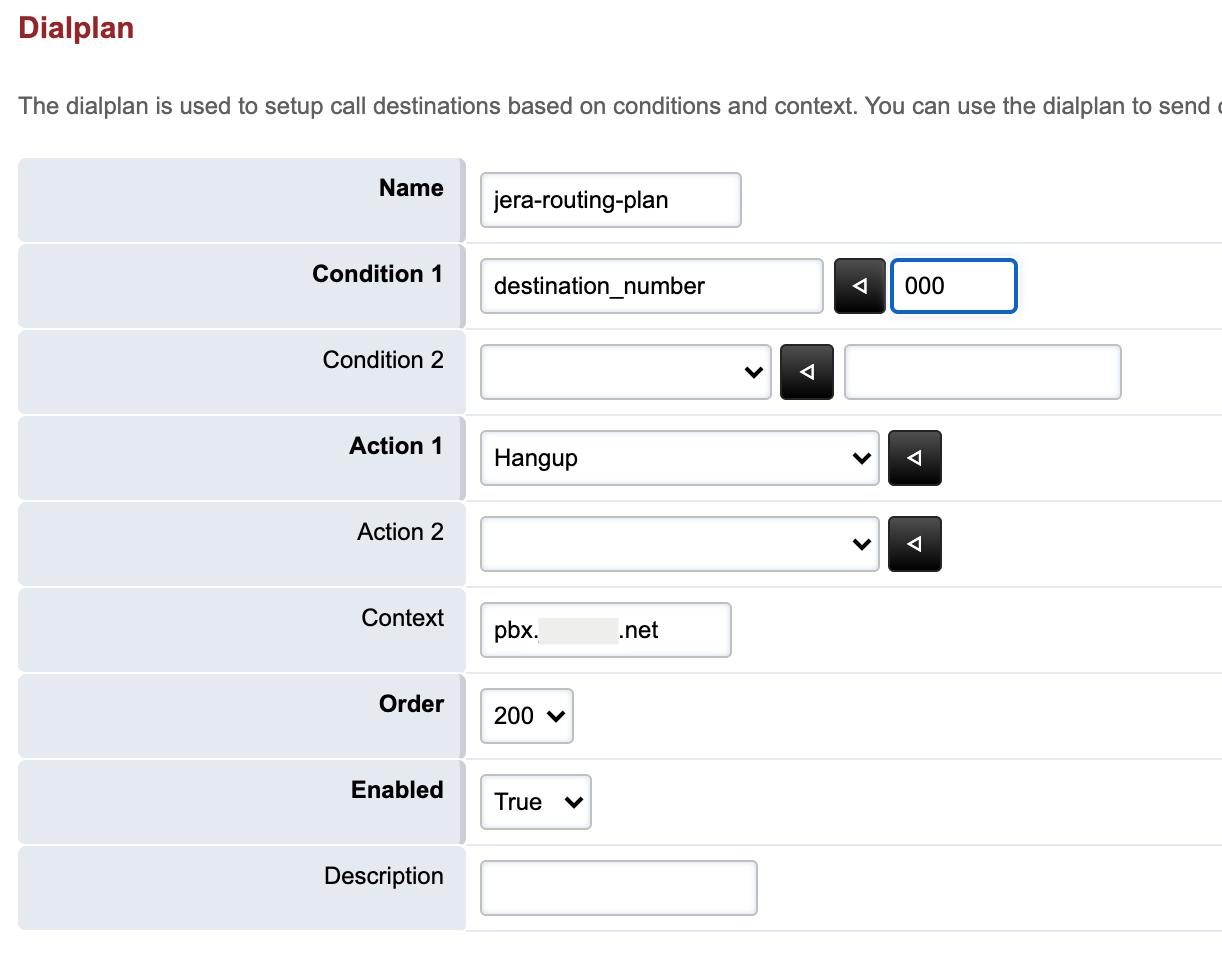
Fill in parameters as shown below (the create form doesn't allow to set all parameters as needed due to limitation of the FusionPBX UI, so we will edit some of the values on the next step):

Field Description Name Set to jera-routing-planCondition 1 Select "destination_number" and enter 000Condition 2 Keep empty Action 1 Select "Hangup" Action 2 Keep empty Context Leave empty (for all context) or specify the one you need Order Set to 200Enabled Select "True" -
Find newly created dial plan in the list and open to edit.
-
Re-check parameters to match the following example (do not save yet):

Field Description Name Keep jera-routing-planNumber Set to .*Continue Should be "False" Order Set to 060Domain Select "Global" -
Configure rules according to the given list:

Tag Type Data Group Order condition destination_number ^00.*$ 0 1 action set process_cdr=false 0 10 action set hangup_after_bridge=true 0 20 action set fail_on_single_reject=USER_BUSY 0 30 action set continue_on_fail=true 0 40 action bridge {sip_invite_call_id=\{uuid},sip_invite_from_uri=sip:{context}\{sip_network_ip}}sofia/external/{destination_number}${jera-routing} 0 100 action set sip_ignore_remote_cause=true 0 110 action hangup UNALLOCATED_NUMBER 0 120 -
Click "Save".
This dial plan is configured for ^00.*$ destination, which means that it works for numbers that start with 00. If you have a different schema – the pattern has to be changed.
Traffic processing
You may need to add a Traffic Processing rule to strip 00 from the number, if you haven't done this yet within xDR files integration. The parameters for the rule are the following:
- Type: Initial
- Dst Match:
^00(.*)$ - Dst Replace:
\1
For this integration please use "Default RFC" SIP collector in the JeraSoft Billing.