DIDs
This tab allows assigning already existing DID numbers to a certain clients' Account.

| Field | Description |
|---|---|
| DID | List of DID numbers |
| Status | Status of a current DID |
| Assigned to | Shows clients' Accounts, to whom the current DID number is assigned |
| Package Name | List of packages |
Functional buttons and icons, presented in the section, are as follows:
| Icon | Description |
|---|---|
 | Allows activating the DID |
 | Allows blocking the DID |
 | Allows holding the DID |
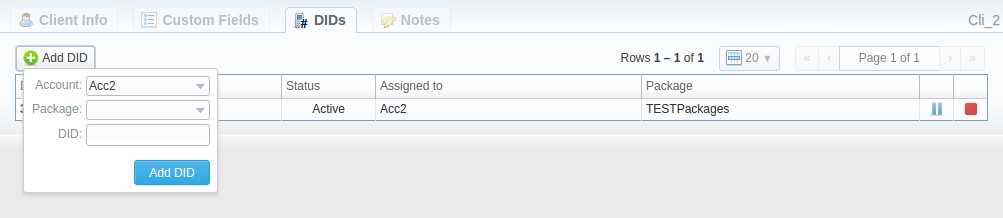
Add DID button
To assign a DID number, click the Add DID button. Then, specify an Account, Package, and DID number.
The Add DID button is visible only if a Client has at least one Account and an activated Package. You can assign a defined number of DIDs, which you previously specified during Package creation.
tip
For step-by-step instructions on how to create a DID number, refer to the Creating a DID number section in the DID Inventory article.