Interface basics
Before jumping straight to system sections, we advise you to take a look at basic interface elements that the user comes across from section to section. By getting used to common JeraSoft Billing features, navigation throughout the system becomes easier and faster. Even though not every interface feature, mentioned in this article, is present in all JeraSoft Billing sections, all of them are pretty common for the majority of them. The full list of interface basics is described below.
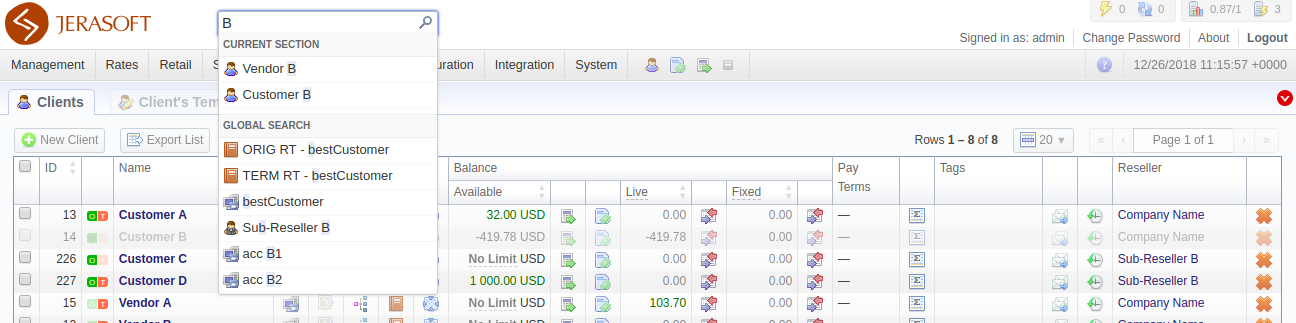
Global search bar
This tool is used to globally search for items within the entire system, as well as find elements within a current section. For example, you can search for clients, accounts, packages, rate tables, DIDs, code decks, routing plans, etc. This bar is located on the top of the system, and it's designed to predict a user's search and show results while you type. It is a time-saving feature. The items found as a result of your search are placed on the drop-down list as links and headings. You can click on the item to open respective settings.

This search bar displays two parts of results: from the current section and global search in the system. Therefore, it shows a drop-down list with 10 first items matching your keyword from the current section and from a whole system.
- When you fill in the field and press ENTER, the search will be applied to the current section.
- If you search in the section with no list of items to select from and click ENTER, the system will redirect to the Clients section and show results.
- To open the edit form of the entity, click on it.
- You can use the search bar for filtering items in the section, for example, clients or DIDs.
Several JeraSoft Billing sections have advanced search settings. To open these settings, click on downwards arrow ![]() icon on the toolbar of a respective section. Red downwards arrow
icon on the toolbar of a respective section. Red downwards arrow ![]() icon on the toolbar means that the data is sorted by default (see screenshot above).
icon on the toolbar means that the data is sorted by default (see screenshot above).
Smart bar
There is a Smart bar shortcut panel to provide quick access to frequently used sections. You can add any number of sections to the panel.
To add the shortcut, open a respective section and then click the plus sign  on the panel. As a result, a corresponding icon will be the rightmost on the panel. To remove the shortcut, click the minus sign
  at the same location.

Info bar
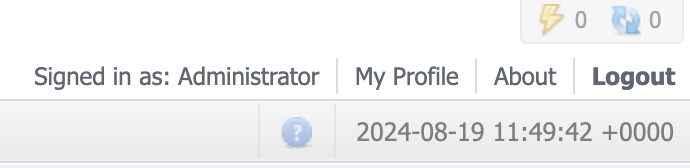
To have access to fast-changing system information, JeraSoft Billing features the information panel – info bar. You can find this panel in the top-right corner of the system and it is available from any section.
| Icon | Description |
|---|---|
 | CDR queue |
 | CDRs in queue for rerating |
 | Rerating tasks in queue and in process |
 | CDRs in queue for parsing |
 | Information about system alerts |
 | Information about system errors |
 | Shortcut to a relevant article regarding certain section on documentation portal |
My profile
You can set your timezone and locale in the Preferences menu, and change the current password by using Change password menu. The changes will be implemented in the system immediately. When setting your timezone, the system will pull these settings to all the statistics reports query forms and transactions timestamps.
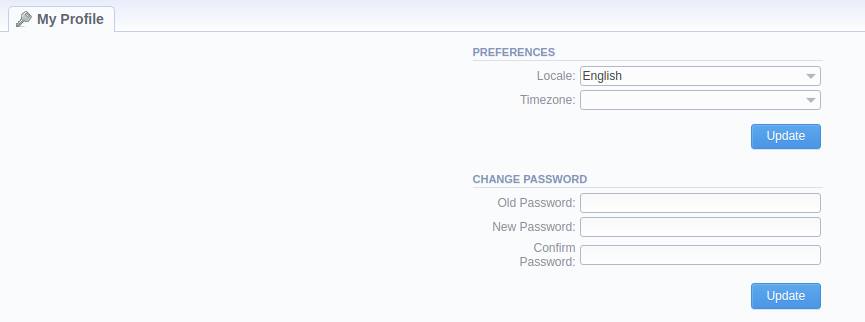
To change a password, enter the current password in Old Password field, and a new one in New Password and Confirm Password fields. Then, click OK.
About
To get more details about the JeraSoft Billing system, current version, license number, limits, and other components, click About either on the info bar or in the bottom-left corner of the system.
Page load time
To provide the user with relevant information about the system, page load time is displayed in the bottom-left corner of any page next to About button.
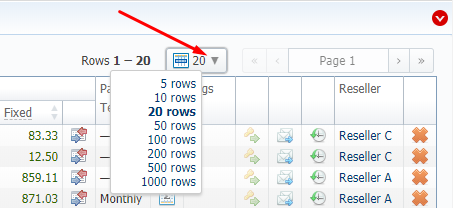
Rows per page
In sections that are presented in the form of a table, JeraSoft Billing allows customizing the number of rows displayed on a page. To do so, click on rows per page drop-down button and set the required quantity.
Delete confirmation
To prevent a situation when you delete an entity from the system by accident, in the majority of cases after clicking the Delete or Mass Delete button, a delete confirmation dialog window will appear, requiring to confirm your action. To proceed with the deletion, press OK, and an entity will be removed from the system. The whole process is illustrated in the animation below.
System logout
You can log out from the system by clicking Logout on the info bar.
Section tabs
Several sections in the system have respective tabs for making the work with billing easier and more comfortable.
