Resellers
Please do not remove Reseller entities completely from the system. It may cause distortions and overall mismatches in stored statistics. Instead, set their status to "deleted".
Section overview
Reseller in JeraSoft Billing is a company that has a certain number of Clients and governs their activities in the system. Like any company, it can have a range of users, each responsible for a certain group of company Clients. The Resellers section is designed to cover two main purposes – partitioning and multi-level billing management. You can track and manage their company information and activity or build a hierarchy of company affiliates. The section is presented in the form of a table with the following columns:

| Column name | Description |
|---|---|
| ID | Reseller's identification number |
| Name | Name of a reseller |
| Available Balance | Reseller's available balance (live balance + credit) |
| Users | Users associated with this company |
| Clients | The total amount of a respective reseller's clients |
The following functional buttons and icons are present in the section:
| Button/Icon | Description |
|---|---|
 | Allows creating a new reseller |
 | Allows assigning a rate table to a respective reseller |
 | Allows viewing history of changes for a respective reseller in the Audit log section |
 | Allows viewing reseller's balance operations in the Transactions section |
 | Allows viewing a list of reseller's users |
 | Allows viewing a list of reseller's clients in the Clients section |
Advanced search
In the top right corner of the section above the table, an Advanced Search drop-down menu is located. By clicking on a blue downward arrow icon, a drop-down menu with the following structure is displayed:
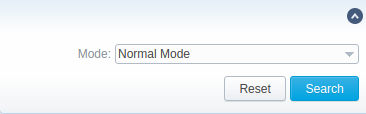
Mode: Select a mode for the resellers' display:
- Normal Mode - only resellers with Active status will be displayed
- Archive Mode - all resellers regardless of the status will be displayed
To apply the specified search criteria, click the "Search" button; to cancel the applied parameters, click "Reset".
Adding a new Reseller
To add a company, you need to:
- click the New Company button;
- fill in all the required fields in the appeared pop-up window (see below) and click OK.
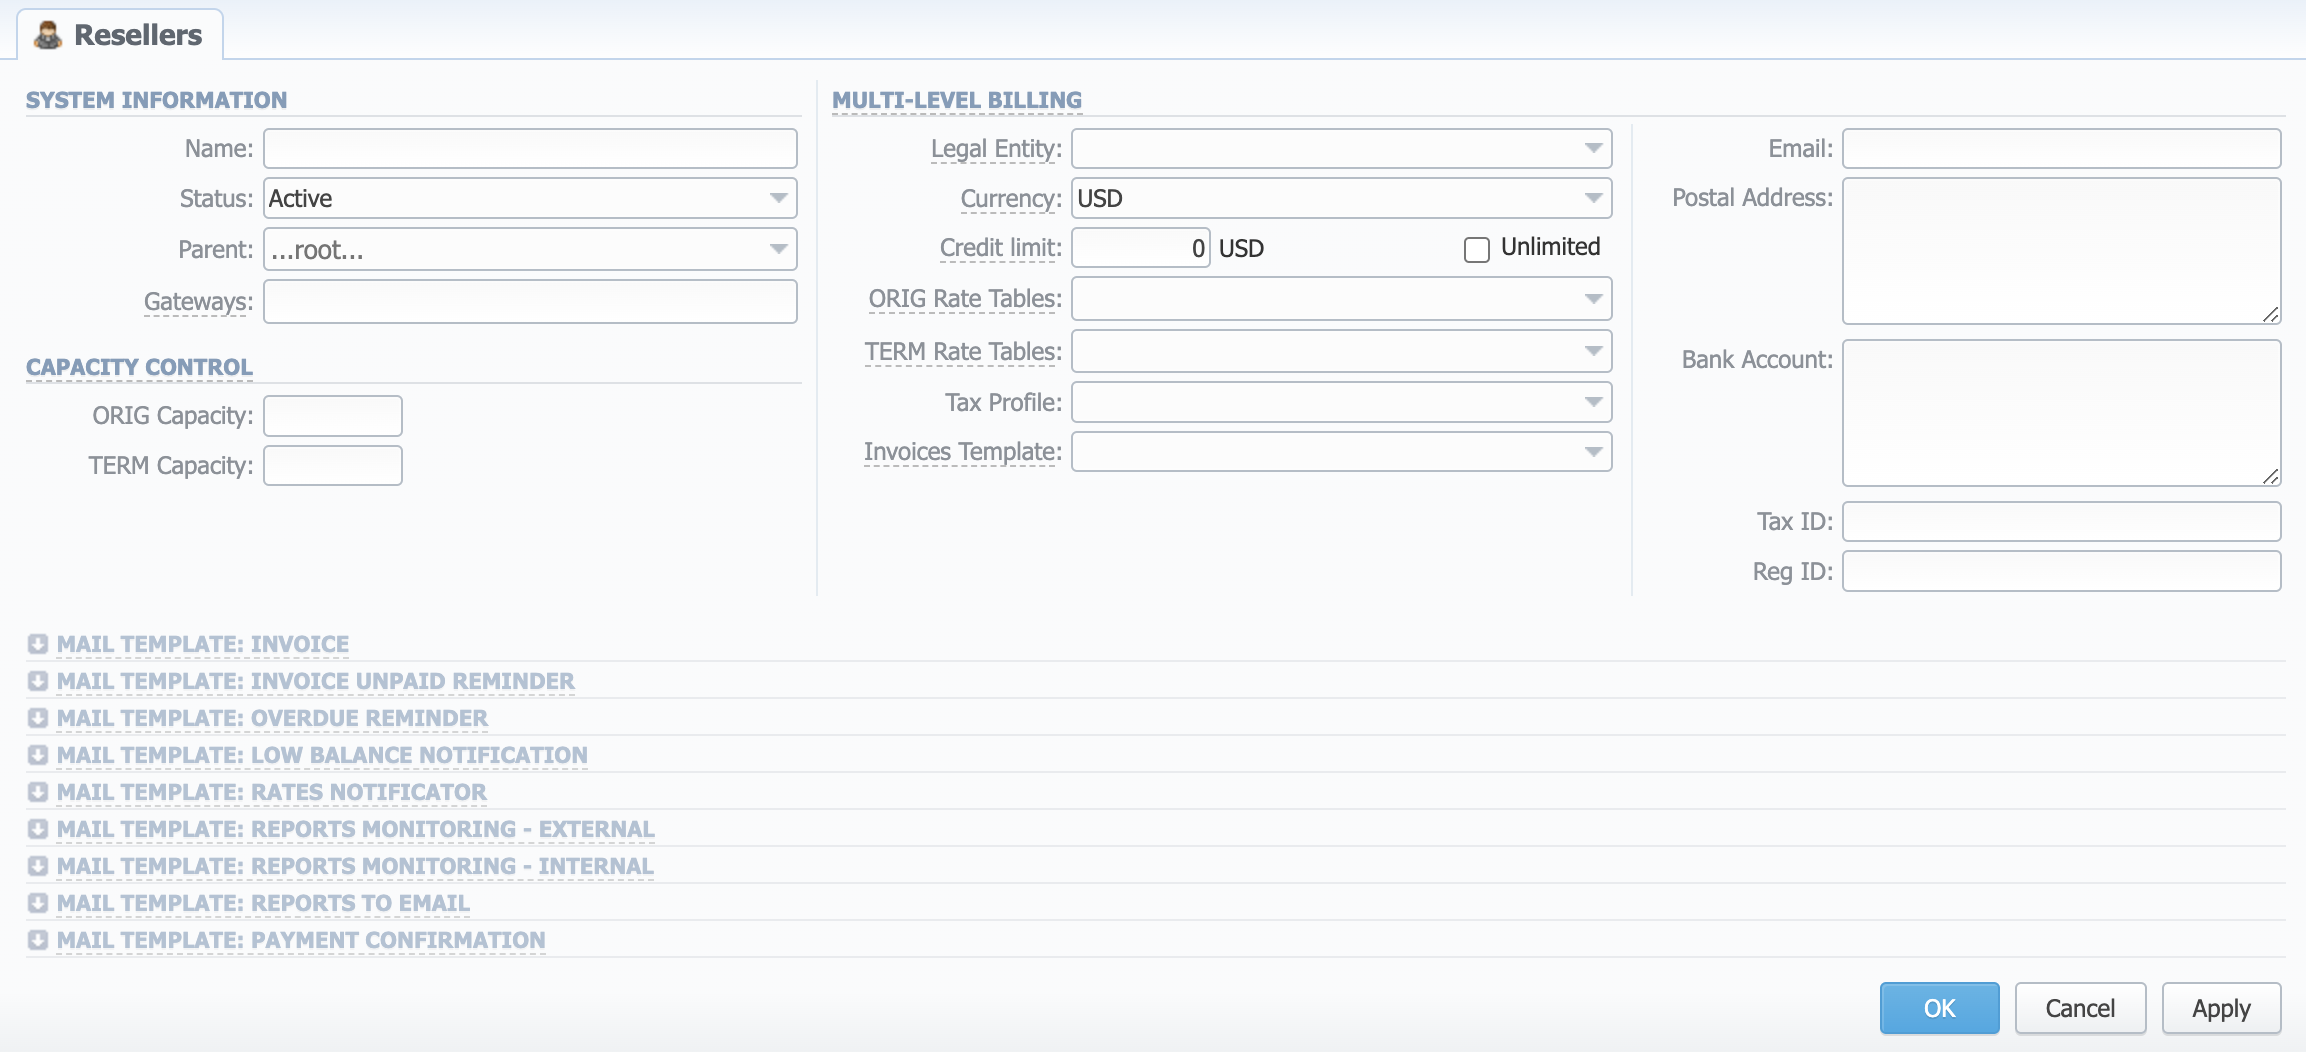
System information
General information about a company
| Field | Description |
|---|---|
| Name | Specify the name of one of your companies (or affiliates). This field is mandatory. |
| Status | Define the status of a reseller: "Active" or "Deleted" |
| Parent | Indicate a parent for a reseller or make it a root one. By default, the field value is set to root |
| Gateways | Select gateway(s) for this reseller |
Capacity control
Capacity Control sums up bidirectional capacity for all the Clients under this Reseller.
| Field | Description |
|---|---|
| ORIG Capacity | Indicate origination capacity for all clients, belonging to this reseller. Leave empty for unlimited. |
| TERM Capacity | Termination capacity for all clients, belonging to this reseller. Leave empty for unlimited. |
Multi-level billing
The Multi-Level Billing section allows for billing parameters management to cover actual reselling/agent schemes. If the configured Reseller should be part of a multi-level billing scenario, you can set Rates and needed Taxes for them here.
| Field | Description |
|---|---|
| Legal Entity | Select a Legal Entity associated with the company. |
| Currency | Select a preferred Currency for Rates and Invoices from the drop-down list of all available ones (see the Currencies section). To keep correct accounting data, it is not allowed to switch the Currency of the Reseller once the accounting Transactions are created in the system. |
| Credit limit | The additional field next to the Unlimited checkbox. User can indicate an amount of reseller's credit. |
| Unlimited checkbox | Here you can set a specific payment mode for a Client. Unlimited mode means that a client will have unlimited credit. Otherwise, the client's Balance + Credit value will be checked on RADIUS or SIP authorization. When this field is checked, the Credit limit field becomes unavailable. |
| ORIG Rate Tables | Specify Rates for outgoing events from customers under a current Reseller. Enables resellers billing mode. |
| TERM Rate Tables | Specify Rates for incoming events from customers under a current Reseller. Enables resellers billing mode. |
| Tax Profile | Indicate a tax profile that will be used for this reseller and reflected in invoices (refers to the Taxes Profiles section). SureTax, Avalara and Compliance are tax calculation services for managing compliance with tax law. For more details, check out the US Taxation article. For proper usage of SureTax and Compliance, Invoice Number should contain only Latin and numeric characters (max 40 symbols), and Dst/Src Numbers should be in NPANXXNNNN (10 digits) format. |
| Invoices Template | Select an invoice template that will be assigned to a reseller. |
It is not allowed to change the Currency once at least one Transaction or Invoice is created. If you need to change the currency for an existing Reseller, create a new Reseller with the desired currency and switch all related entities to it.
Contact information
| Field | Description |
|---|---|
| Company's email (it is required to specify an email to receive notifications). Use only Latin characters. This field is mandatory. | |
| Postal Address | Company's postal address |
| Bank Account | Company's bank account info |
| Tax ID | An ID of the tax-paying entity |
| Reg ID | Company's registration ID |
Mail templates
A detailed description of all Mail Templates and their configuration is presented at the end of this article.
You can use multiple emails per field if necessary. Just separate them with a comma or semicolon.
- Changes in Resellers' settings will not be applied instantly. They will be automatically reloaded at the next run of the Cache Manager service.
- Parent Reseller has access to all information of its Sub-Resellers, and also can assign any routing plan and Rate Table to its Sub-Resellers.
Reseller removal
To delete a Reseller from the system, you need to change the status from "Active" to "Deleted" in the Reseller's profile editing form.
Please note that a Reseller will not be deleted fully; it will be archived. To display them, use Advance Search (see above). To delete a profile completely, you need to click "Full Delete" in the editing window.
Custom fields
The Custom Fields are used as custom variables that allow adding information about existing system entities. This information can be later used in API or during invoicing.
To add a new Custom Field, click the "Add Custom Field" button and fill in the following information:
| Field | Description | Example |
|---|---|---|
| Field Key | Specify the unique field key for the Invoices and API | voip_phone_sell |
| Title | Specify the display name for the Custom Field | VoIP phone sell |
| Data Type | Specify the type of data to enter for the Custom Fields. The available types are: string, integer, decimal, and datetime picker. | string |
| RegExp Match | Specify POSIX regular expressions to validate the input data against (for the "string" type only). | ^[a-zA-Z]+$ |
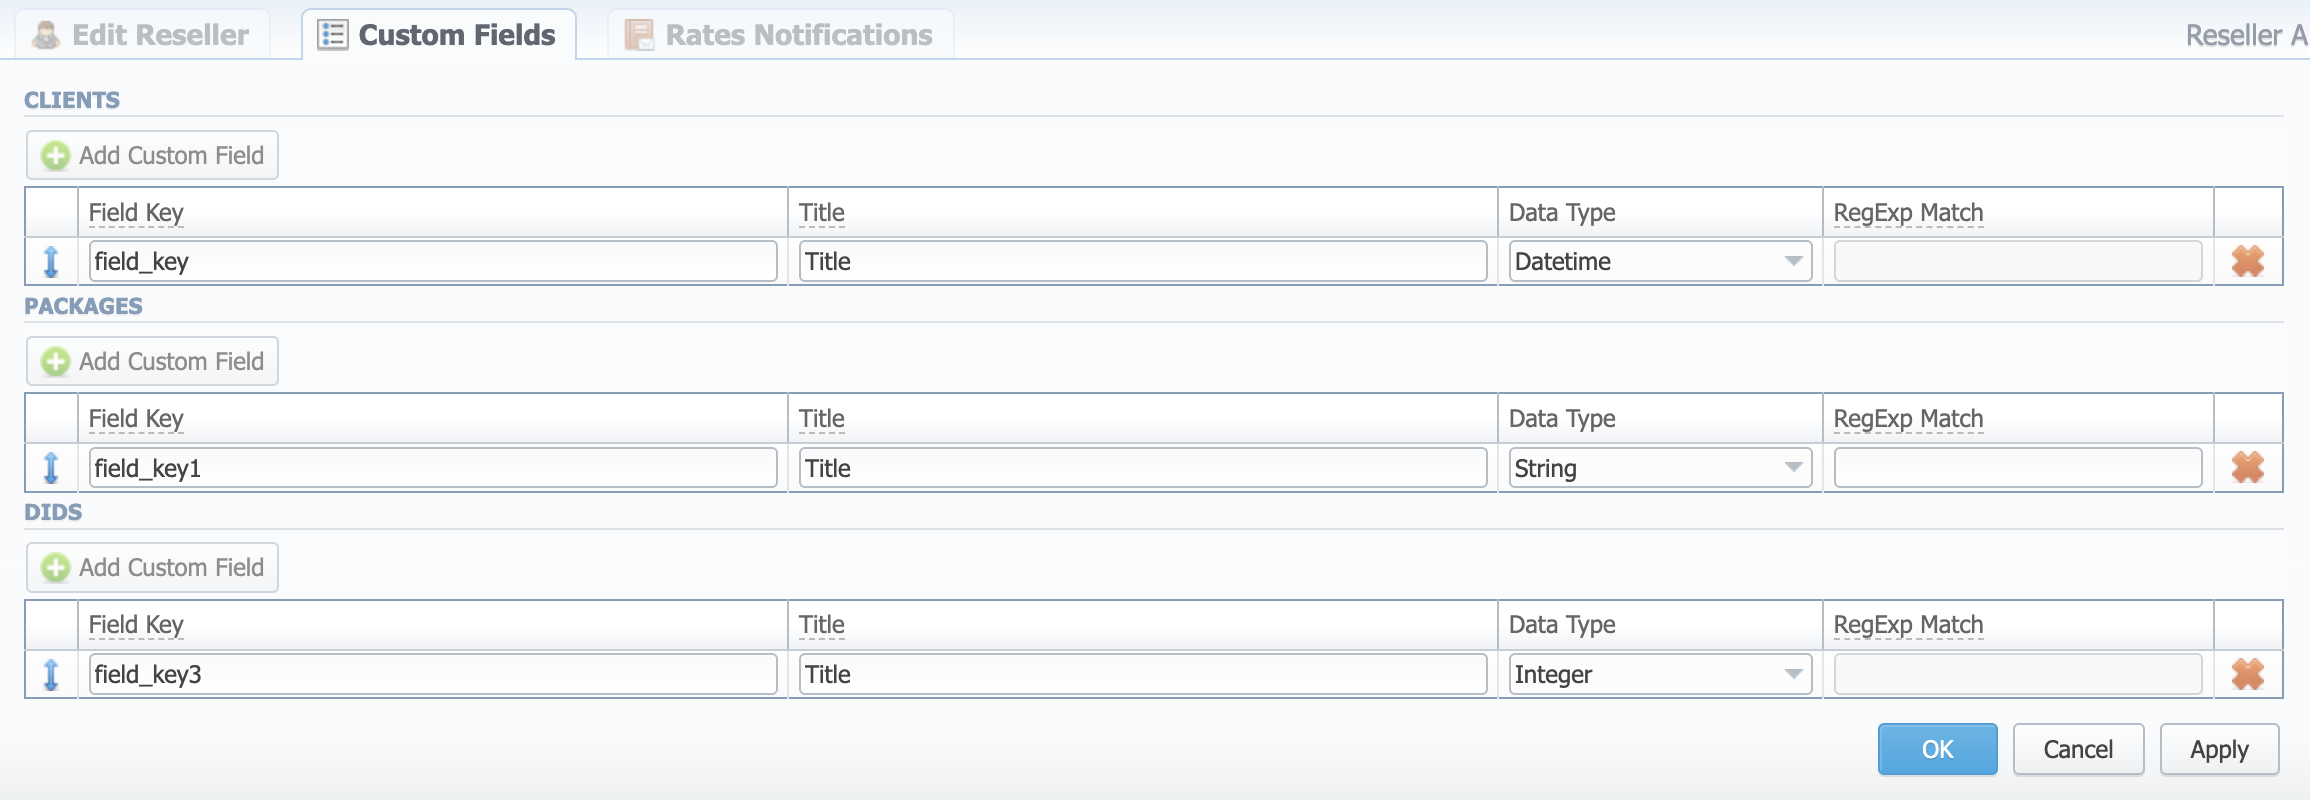
Availability
The Custom Fields are available for the following system entities:
- Clients
- Packages
- DIDs
Usage in Invoice Templates
When you have Custom Fields present in the system, you can use them in invoicing. Currently, the Clients' and Packages' Custom Fields can be utilized as custom invoice variables.
To add your custom information to the Invoice Templates, follow these steps:
- Add respective information to the Custom Fields in the Client's settings / Package settings → Custom Fields tab.
- Create an Invoice template and assign it to a target Reseller with those Custom Fields. Then, the Clients Custom Fields and Package Custom Fields tables will appear in the Invoice Template settings. You will need to add those tables to the Invoice Template.
Rates notifications
Rates Notification settings in the Resellers profile allow creating a default rate notification for the Clients that belong to a target Reseller.
To configure these settings, open the Rate Notifications tab in the Reseller profile. The structure of a tab is as follows:
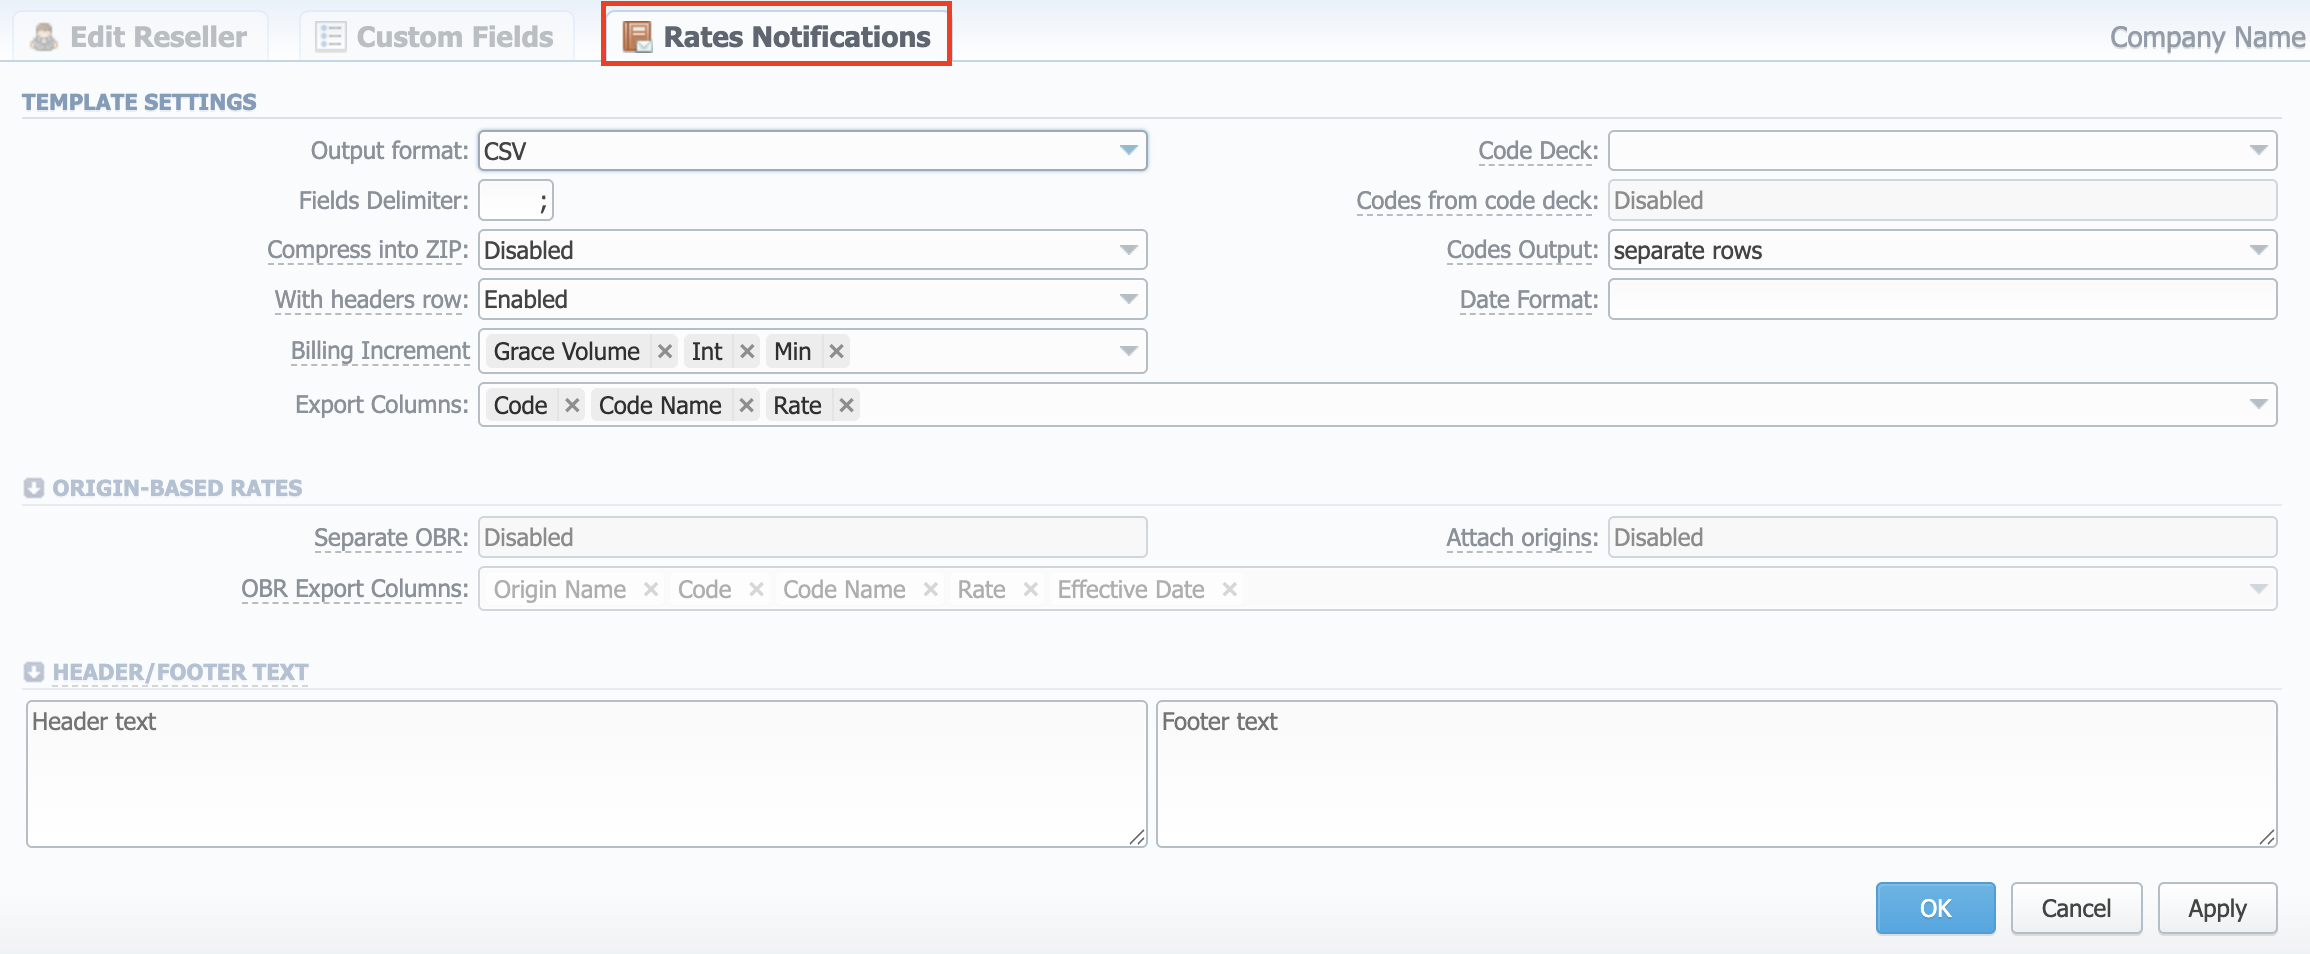
Template settings
| Field | Description |
|---|---|
| Output format | Select .csv or .xlsx |
| Fields delimiter | Set a delimiter for the fields if you've chosen .csv. For .xls format, this field is unavailable. |
| With headers row | Include a row with column names in a file |
| Billing increment | Select these parameters here and drag them to align anyhow: Grace Volume, Int (payment interval), Min (minimal volume) |
| Export columns | Select the columns to export |
| Code deck | Select a code deck here to rewrite code names in an export file if needed |
| Codes from code deck checkbox | Include only codes which are present in a specified Code Deck |
| Codes output | Select a way codes must be displayed: - Separate Rows: Each code is placed into a single row - Delimited List: Codes are grouped by a code name in a row (e.g., 5510, 5511, 5512) - Ranges List: Codes are grouped by a code name into ranges plus delimiter (e.g., 5510-5512, 5515) |
| Date format | Specify the date format in your export file. Example: if you enter "%d-%m-%Y" here, your date will look like 25-02-2018 |
| Origin-based rates | You can enable exporting OBR rates on a separate sheet (when export format is .xlsx): - Separate OBR: Enable or disable exporting OBR rates on a separate sheet - Attach Origins: Add another sheet for Origins - OBR Export Columns: Select needed data from the drop-down list |
| Header / footer text | Allows specifying additional text into an exported file as a header and footer, respectively |
Description of all columns that could be selected for a rate notification is provided below:
Note that the first selected column will be the one used for sorting the Rates list.
| Column Name | Description |
|---|---|
| Code/Code Name | Code or Code Name of a respective rate |
| Effective Date | Date, on which a rate to be applied |
| Rate | Price |
| Min Volume | The minimum volume of chargeable events |
| Interval | Chargeable interval |
| Grace Volume | Free of charge interval |
| Setup Fee | Interval of a setup fee |
| Profile | Time profile (all time, business time, non-business time, weekends) |
| End Date | Date, on which the rate ends |
| Previous Rate | Rate used before the present time |
| Prev Diff | Shows how current rate differs from a previous one after import |
| Prev Diff Status | Shows how the current rate's status changed in comparison to a previous one (unchanged, increased, decreased) |
| Prev Diff (export) | Shows how the current rate differs from a previous one after export |
| Prev Diff Status (export) | Rate's changes after the last export. Shows the status of how the current rate differs from a previous one. The rate will have an unchanged status if the Effective date is lower than the Last Notification Date |
| Notes | Additional information |
| Tag | Tags that are assigned to a respective rate |
| Policy | Indicated policy of the rate |
| Status | Define a current rate status |
Prev Diff Status usage example
Step 1: Notification type: All rates unique mode - First Notification: 07/07/2017
| Code | Rate | Effective From | Previous Rate | Prev Diff | Prev Diff Status | Prev Diff Status (export) |
|---|---|---|---|---|---|---|
| 1 | 10 | 07/01/2017 00:00:00 +0000 | - | - | new | unchanged |
| 2 | 10 | 07/01/2017 00:00:00 +0000 | - | - | new | unchanged |
| 3 | 10 | 07/01/2017 00:00:00 +0000 | - | - | new | unchanged |
Step 2: Added new rates with effective date 07/21/2017 - Second Notification: 07/14/2017
| Code | Rate | Effective From | Previous Rate | Prev Diff | Prev Diff Status | Prev Diff Status (export) |
|---|---|---|---|---|---|---|
| 1 | 15 | 07/21/2017 00:00:00 +0000 | 10 | 5 | increased | increased (5.0000) |
| 2 | 15 | 07/21/2017 00:00:00 +0000 | 10 | 5 | increased | increased (5.0000) |
| 3 | 15 | 07/21/2017 00:00:00 +0000 | 10 | 5 | increased | increased (5.0000) |
Step 3: Rate with code 1 was edited and the increase was canceled - Third Notification: 07/21/2017
| Code | Rate | Effective From | Previous Rate | Prev Diff | Prev Diff Status | Prev Diff Status (export) |
|---|---|---|---|---|---|---|
| 1 | 10 | 07/21/2017 00:00:00 +0000 | 10 | 0 | unchanged | unchanged |
| 2 | 15 | 07/21/2017 00:00:00 +0000 | 10 | 5 | increased | increased (5.0000) |
| 3 | 15 | 07/21/2017 00:00:00 +0000 | 10 | 5 | increased | increased (5.0000) |
Step 4: Rate with code 2 was edited and added a new rate for code 3 - Fourth Notification: 07/28/2017
| Code | Rate | Effective From | Previous Rate | Prev Diff | Prev Diff Status | Prev Diff Status (export) |
|---|---|---|---|---|---|---|
| 1 | 10 | 07/21/2017 00:00:00 +0000 | 10 | 0 | unchanged | unchanged |
| 2 | 20 | 07/21/2017 00:00:00 +0000 | 10 | 10 | increased | unchanged |
| 3 | 20 | 07/31/2017 00:00:00 +0000 | 15 | 5 | increased | increased (5.0000) |
Configuring mail templates
Also, there are different mail templates you can configure in your company's profile:
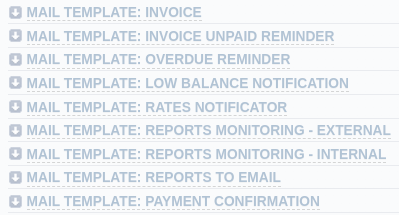
| Template Name | Description |
|---|---|
| Mail Template: Invoice | Used when sending an invoice to the customer |
| Mail Template: Invoice Unpaid Reminder | Used when sending a payment notification to a customer (sending notification on "Notify Days (before)") |
| Mail Template: Low Balance Notification | Used when sending a low balance notification to a customer. You can add a rounding rule for a client's balance during low balance notification. For example, to round up to 2 decimal places, you need to add the variable ${client['balance']} in the Mail template: Low Balance Notification in reseller's settings and specify the number of rounding decimals in the Totals Precision field of the Currencies section. |
| Mail Template: Overdue Reminder | Used when sending a payment notification to a customer (sending notification on "Notify Days (after)") |
| Mail Template: Payment Confirmation | Used when sending a payment confirmation email to the client |
| Mail Template: Rates Notificator | Used when sending a rate changes notification to a customer |
| Mail Template: Reports Monitoring - External | Used when the system matches client's destinations and sends notifications to them during Reports Monitoring |
| Mail Template: Reports Monitoring - Internal | Used when the system sends notifications about matched statistics during Reports Monitoring |
| Mail Template: Reports To Email | Used when sending reports by email |
All mail templates have the following structure:
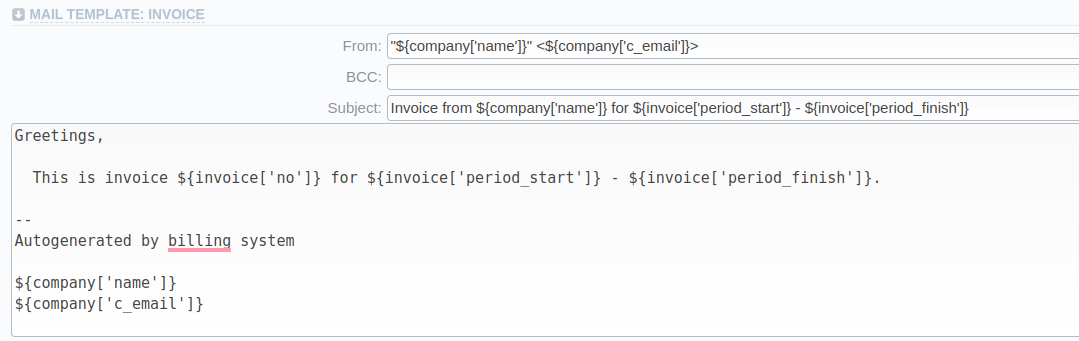
| Field | Description |
|---|---|
| From | Specify a name and email of a company |
| BCC | Specify who will receive a blind copy of an email |
| Subject | Indicate an email subject that may contain the company name, invoice number, etc |
| Mail Body | Content of the letter with the template-specific variables |
To configure any of these templates, simply click on its name. Below, you will find a full list of templates configuration syntax used in almost all kinds of configured mails concerning Clients' and Resellers' data and configuration syntax, which is used in a foregoing list of mail templates.
Configuration syntax
General configuration syntax concerning Clients' Data
| Templates Configuration Syntax | Description |
|---|---|
${client['balance']} | Client's live balance |
${client['balance_accountant']} | Client's fixed balance |
${client['c_address']} | Post address of a client's company |
${client['c_company']} | Client's official company name |
${client['c_email']} | Client's email |
${client['credit']} | Client's available credit |
${client['currencies_id']} | Currency ID, used by a client |
${client['locale']} | Client's location |
${client['name']} | Client's name |
${client['reg_id']} | Registration ID of a client's company |
${client['status']} | Client's status: Active or Deleted |
${client['tax_id']} | Customers tax ID of a client's company |
${client['taxes_profiles_id']} | Taxes profile's ID, used by a client |
${client['tz']} | Timezone of a client |
General configuration syntax concerning Company's / Reseller's Data
| Templates Configuration Syntax | Description |
|---|---|
${company['status']} | Company's status: Active or Deleted |
${company['balance']} | Company's current balance |
${company['balance_accountant']} | Company's fixed balance |
${company['credit']} | Company's available credit |
${company['c_address']} | Company's postal address |
${company['c_email']} | Email of a company |
${company['locale']} | Company's location |
${company['currencies_id']} | Company's currency ID |
${company['tz']} | Company's timezone |
${company['taxes_profiles_id']} | Company's taxes profiles |
${company['name']} | Name of a company |
${company['tax_id']} | Company's customers tax ID |
${company['reg_id']} | Company's registration ID |
${legal_entity['name']} | Legal Entity's Name |
${legal_entity['email']} | Legal Entity's mail address |
${legal_entity['legal_name']} | Legal Entity's Legal Name |
Configuration syntax for mail template: Invoice and Payment Reminder Notification
| Templates Configuration Syntax | Description |
|---|---|
${invoice['c_dt']} | Invoice date |
${invoice['type']} | Invoice type |
${invoice['amount']} | Invoice total sum |
${invoice['period_start']} | Invoice period start |
${invoice['period_finish']} | Invoice period end |
${invoice['due_date']} | Invoice due date |
${invoice['no']} | Invoice number |
${invoice['descr']} | Invoice comments |
${invoice['tz']} | Invoice timezone |
${invoice['state']} | Invoice state |
${invoice['name']} | Invoiced client's name |
${client['currency']} | Client's currency |
Configuration syntax for mail template: Low Balance Notification
| Templates Configuration Syntax | Description |
|---|---|
${client['balance_avail']} | Client's available balance: live balance + credit |
${client['currency']} | Client's currency |
${client['alert_threshold']} | Notification for a client regarding reaching a balance limit |
${client['alert_a_threshold']} | Notification for an administrator regarding reaching a balance limit |
Configuration syntax for mail template: Rates Notificator
| Templates Configuration Syntax | Description |
|---|---|
${msg['rt_name']} | Rate table name |
${msg['lastedit_dt']} | Date when a rate table was edited last |
${date} | Date when the notification was sent |
Configuration syntax for mail template: Reports To Email
| Templates Configuration Syntax | Description |
|---|---|
${report["name"]} | Title of a report template |
${report["interval"]} | Actual report period |
${report["name-full"]} | Title of a report template with indication of an actual report period |
${report["id"]} | ID of a report template |
If you want the date of sending a letter to be present, you can add the ${date} variable in any mail template.