How to do a bill run in JeraSoft
Preconditions
To be able to bill your Clients, you will need:
- Clients configured in the system
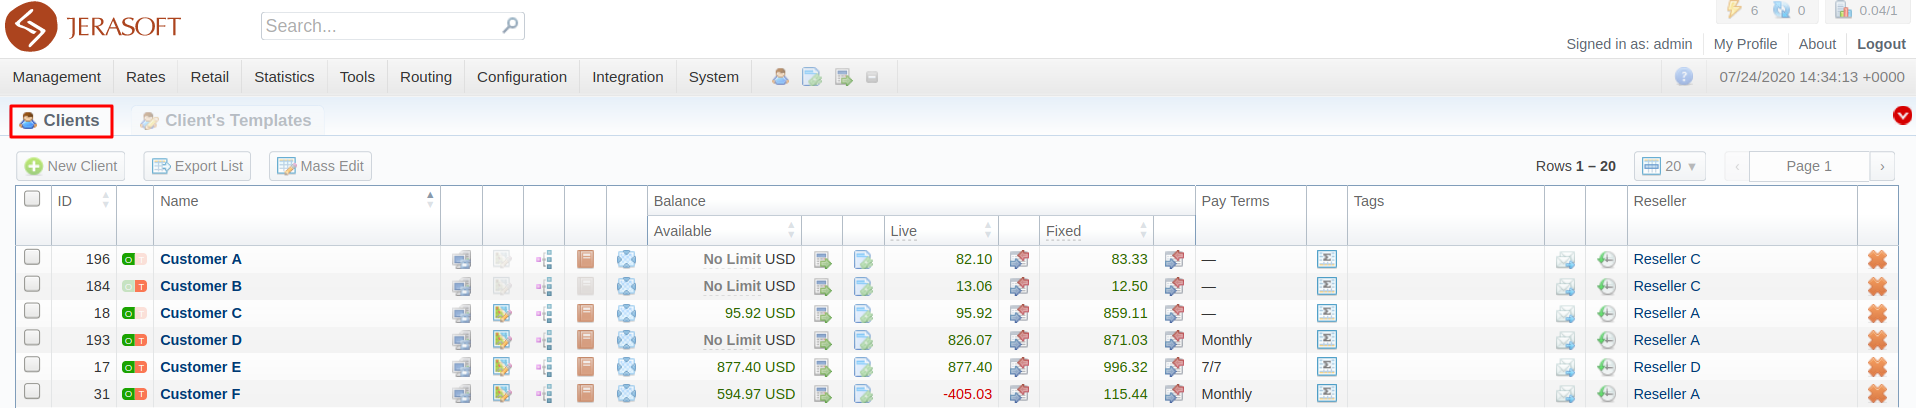
Please make sure that you have added all your customers to the Clients section. In JeraSoft, Clients are the paying entities that have their Balances and can be issued an Invoice. For more details on the section, please refer to this article.
- Accounts added for the respective Clients
All active Clients need to have Accounts in place. Accounts are physical identifications of Clients - like IP addresses, usernames, or ANIs. Please add all the needed Accounts, otherwise, the statistics coming to the system for those Accounts will be mismatched.

- Rates/Packages
Rates for per-minute billing need to be in place for respective Clients to use. The Rate Tables need to be assigned in the Client's (or Account's) settings. These Rate Tables need to hold rates for the destinations a Client (or Account) can call to.

If you are utilizing subscription-based billing, the same goes for Packages/Subscriptions. Clients need to have all the Subscriptions they use in place for correct billing.

- Statistics
It is crucial to check if the statistics correspond to your expectations. Please make sure that statistics in the Statistics → Summary Report is presented as you expect. If anything is off, let our Support engineers know, we'll help you find a solution.
If there will be unmatched statistics, the Invoice will not show it. You can check the mismatches in the Statistics → Mismatches Report. Notes on how to use this section are in the Mismatches Report guide.
If you will correct the system data to remove mismatches, please proceed with the Rerating procedure to match all processed calls to the correct entities, as well as bill them correctly. Details on rerating are in the xDRs Rerating guide and Rerating How-To.
Doing a bill run
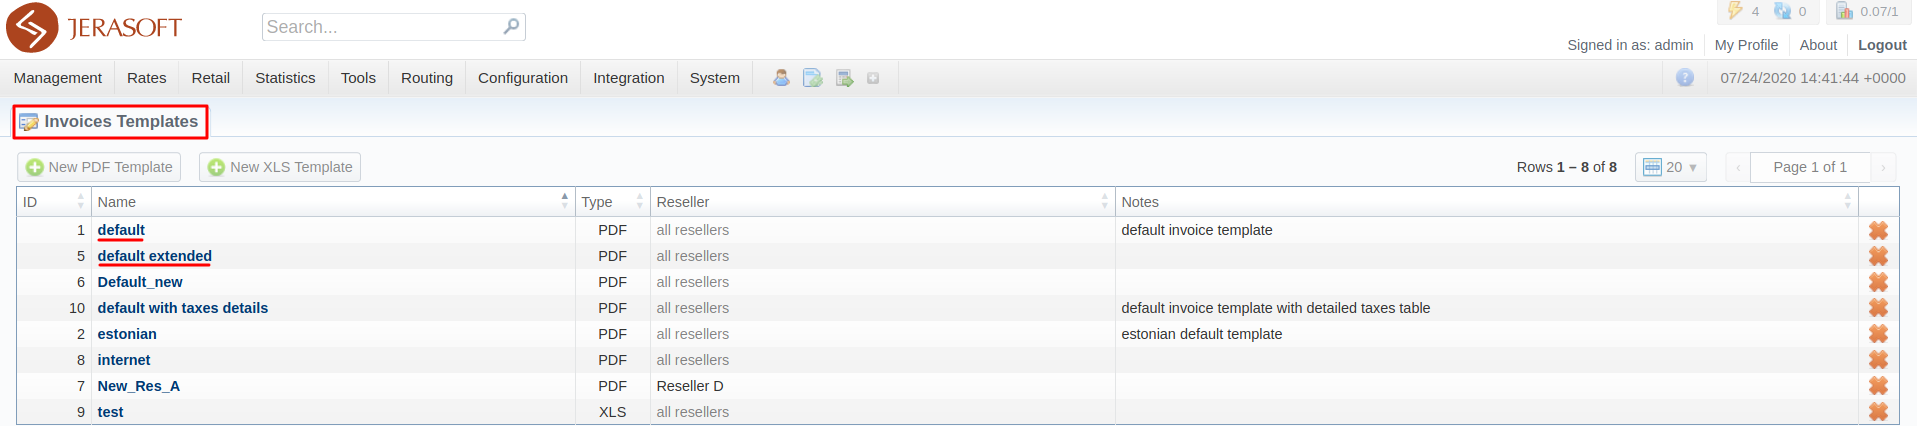
After you make sure all of the above-mentioned parts are in place as expected, you can proceed to Invoices creation. For that, you might want to use one of our predefined Invoices Templates: "default" or "default extended", for example. Please refer to this article to get to know more about Invoices Templates.
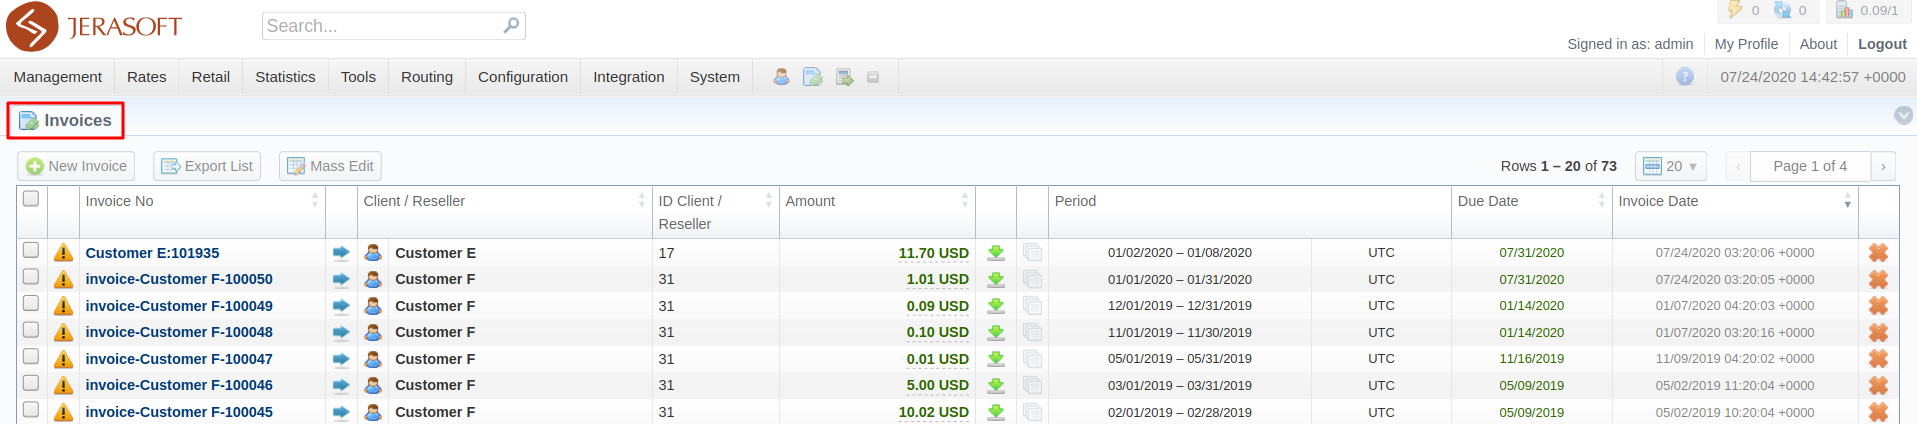
After you've set up the template you want to work with, go to Management → Invoices, where you can try and create a test Invoice for any client. Click the New Invoice button to open the Invoice Creation Form. Specify the Client, Period, State "to verify", and template for the Invoice, and hit "OK". The newly created Invoice will be downloaded and will appear in the list in UI. To understand this section more, please refer to this article.
After you've created the test Invoice, please check if it has the expected amount and looks like you want it to. Now you can proceed to create Invoices as usual.
If you want to set up Automatic Invoices Creation, please refer to this article for instructions.