Fluid Pay
Please follow the guidelines presented in this article to enable the integration with Fluid Pay.
Configuration on the payment system side
-
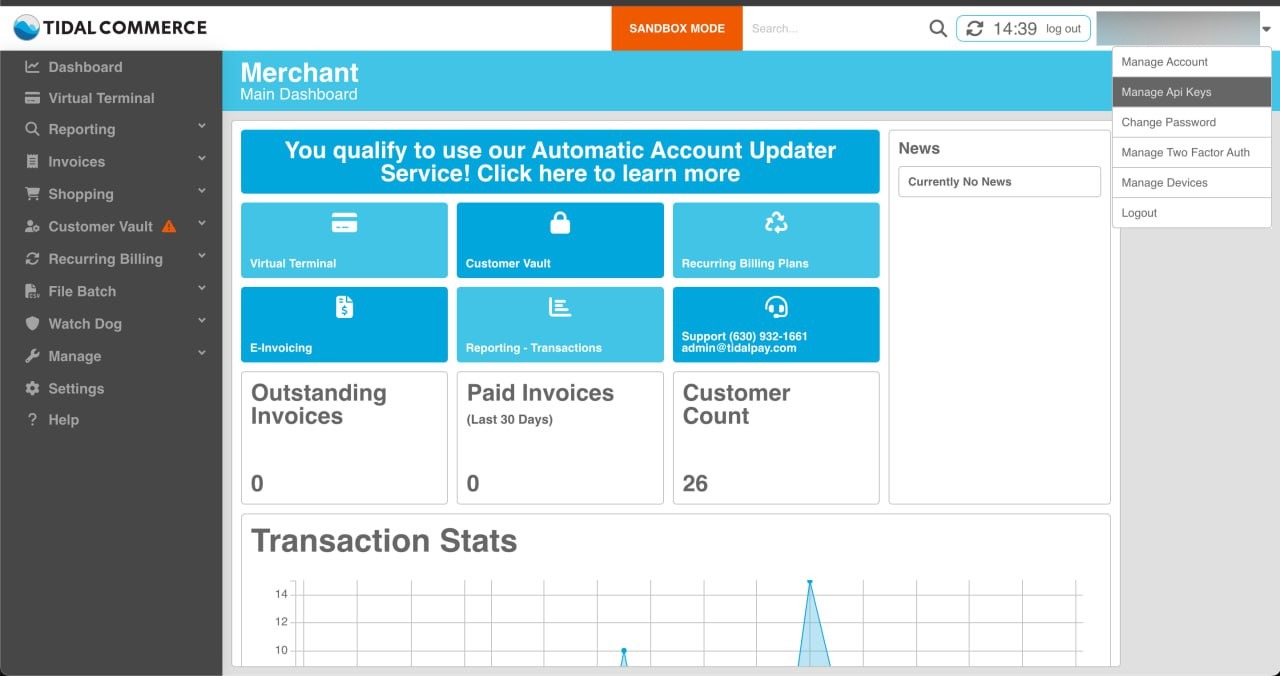
Go to the Tidal Gateway login page, and enter your login and password information
-
When the page loads, click on the arrow in the upper right corner, and go to the "Manage Api Keys" section
-
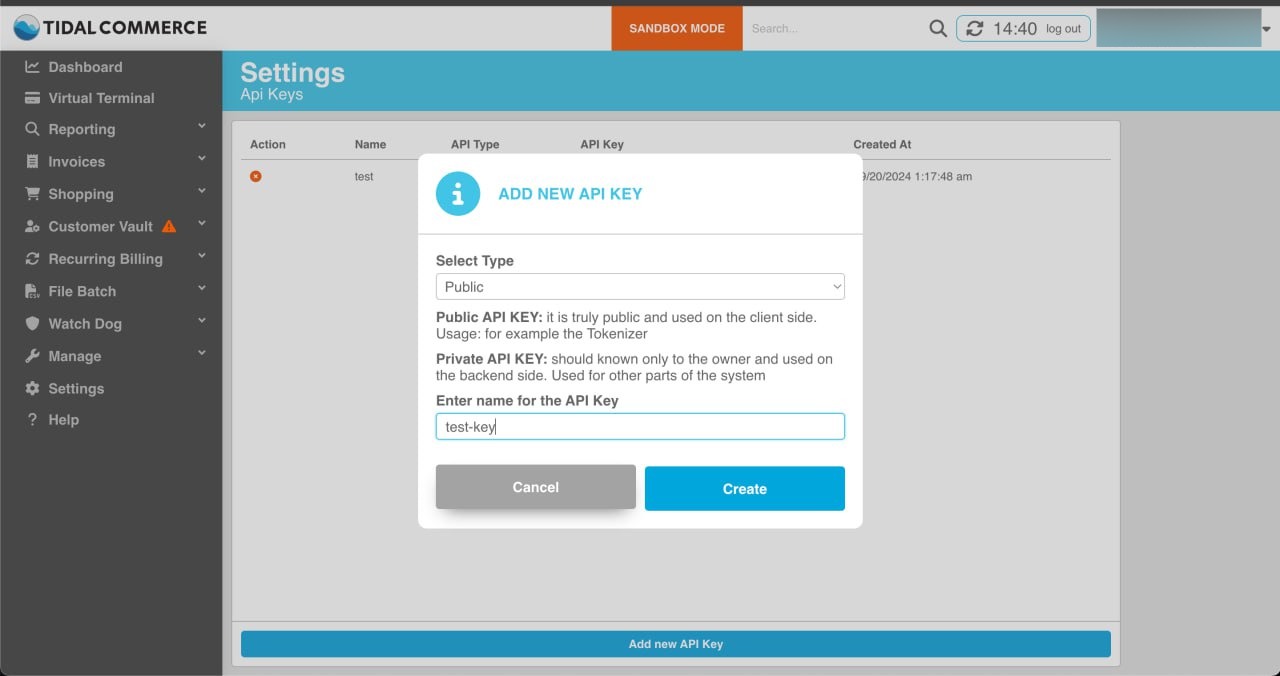
Click "Add new API key", select Type - "Public", and enter any name in the "Enter Name for the API key" field
-
Click "Create", and save the key from the result somewhere for yourself
Configuration in our admin portal
- Log in to the JeraSoft Billing web UI
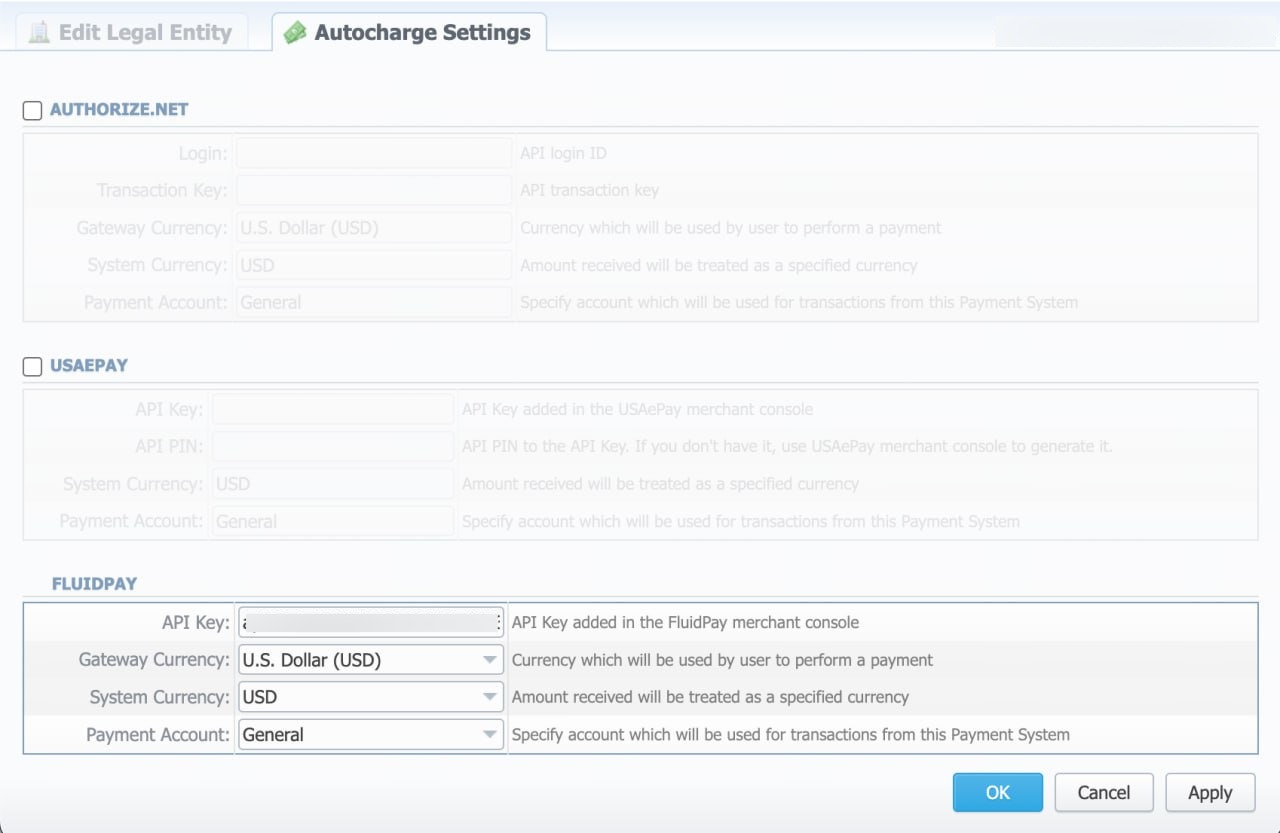
- Go to Configuration → Legal Entities, and select the needed Legal Entity
- Go to the Autocharge Settings tab. Check the box next to "FLUIDPAY", enter your API key in the API Key field
Client Panel configuration
Configure the following settings in the paymentGateways.fluidpay section of the configuration file.
Configuration parameters
| Field | Description |
|---|---|
| enabled | Is integration enabled |
| sandbox | Is sandbox mode enabled |
| allowCustom | Are custom amounts allowed |
| amountOptions | List of allowed top up amounts |
| defaultCountryCode | Respective Country Code in JeraSoft Billing |
| currenciesId | Respective Currency ID in JeraSoft Billing |
| currencyCode | Currency (code) to charge payments in |
| paymentAccountsId | JeraSoft Payment Account ID to use |
| apiKey | Your API key |
Sample config
/opt/jerasoft/vcs-data/conf/cp-customer-params.json
{
    "default": {
        ...
        "paymentGateways": {
            "fluidpay": {
                "enabled": true,
                "sandbox": false,
                "allowCustom": true,
                "amountOptions": [1, 5, 10, 25],
                "defaultCountryCode": "US",
                "currenciesId": null,
                "currencyCode": "USD",
                "paymentAccountsID": 1,
                "apiKey": "your-api-key",
            }
        },
        ...
    }
}