Docs for all releases
This documentation relates to an earlier version of JeraSoft VCS.
View User Guide 3.26 or visit our current documentation home page.
View User Guide 3.26 or visit our current documentation home page.
In this article
Section overview
Users is a core section that provides an overview of all registered users in the system. The section allows to create, edit, and disable existing users. The list of users is presented in the form of a table with the following columns:
Screenshot: Users section
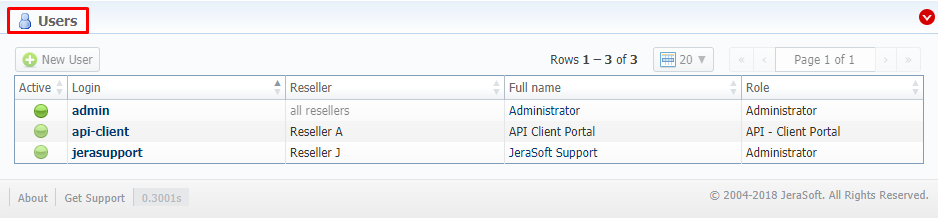
| Column | Description |
|---|---|
| Active | User's status. Depending on the icon, the status can be either |
| Login | User's account name |
| Reseller | Name of a company whom this user belongs to |
| Full Name | Mailto links of users (if specified in the user's account) |
| Role | User's role that determines the access level or permissions |
![]() Tip
Tip
If your role implies relevant permits, by clicking on a status icon in the Active column, you can change the user's status from active to disabled and vice versa
Functional buttons/icons presented in the section are as follows:
| Button/Icon | Description | |||
|---|---|---|---|---|
| Allows creating a new user | |||
| Opens an Advanced Search drop-down menu | |||
Advanced Search
In the top right corner of the section above the table, an Advanced Search drop-down menu is located. By default, the list of clients is filtered by Active status. By clicking on a red downwards arrow ![]() icon, a drop-down menu with the following structure is displayed:
icon, a drop-down menu with the following structure is displayed:
Screenshot: Advanced Search drop-down menu
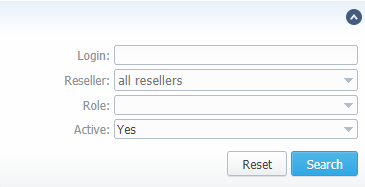
| Field | Description | ||
|---|---|---|---|
Login | Specify a desired user's login | ||
| Reseller | Select from the list of all Resellers, Sub-resellers and Managers registered in the system | ||
| Role | Select from the list of existing system roles | ||
Active | Specify whether the user's status is active or not by selecting from a drop-down list:
| ||
Adding a New User
What you need to do to create a new user is:
- Click the New User button
- In the opened pop-up window, fill in all the required fields (list of them is presented in a column below)
- Confirm new user creation by clicking OK
Screenshot: New user creation window
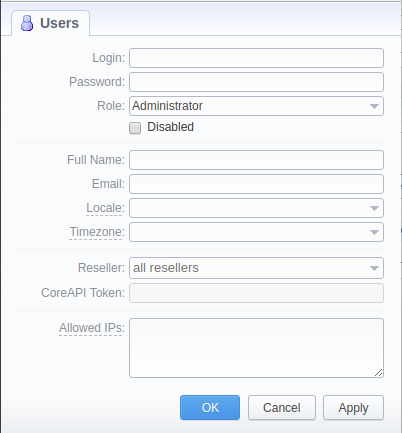
| Field | Description |
|---|---|
| Login | Specify a user's login. |
| Password | Define a password |
| Role | Select a role for a user from a drop-down list |
| Disabled checkbox | Check if you need to prevent a user temporary from having access to the system |
| Full Name | Enter a user's name. Note that if a user's email is specified, full name in the section serves as a mailto link. |
| Specify a user's email | |
| Locale | Define a language for a user, and it will be used instead of the system one for displaying all dates, reports, etc. If not specified, the system settings are taken. |
| Timezone | Define a timezone for a user, and it will be used instead of the system one for displaying all dates, reports, etc. If not specified, the system settings are taken. |
| Reseller | Specify a reseller, sub-reseller or manager a user belongs to |
| CoreAPI Token | This field cannot be specified in the creation form. CoreAPI Token is automatically generated by the system after a user is created |
| Allowed IPs | Enter IPs or subnets, one record per line, i.e. the user will have access to the system only if he/she logs in via specified IPs |
![]() Attention
Attention
While creating a new user, bear in mind the following things:
- Each user can have only one assigned role.
- We strongly recommend avoiding non-Latin characters in users' logins/passwords
Overview
Content Tools